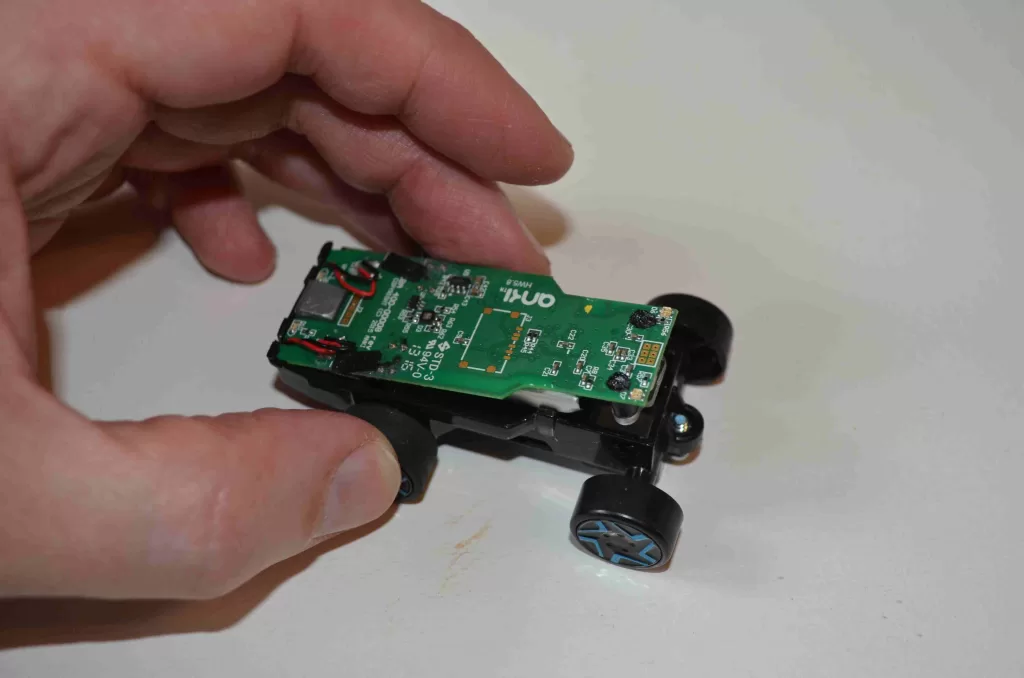
TWS wireless headphone batteries CP1254 (A3) 3.7V 60mAh with Solder Tabs. Twin Battery Pack.
£16.99
Stock Out
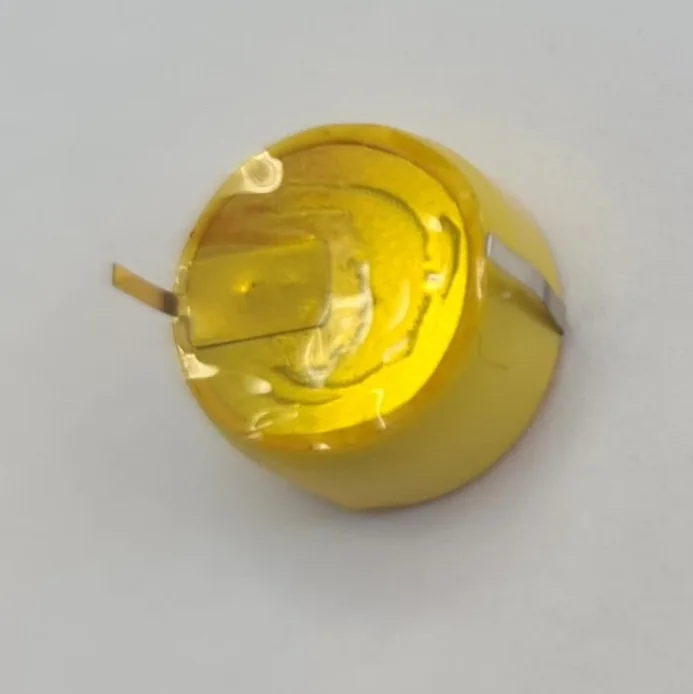
Beats Powerbeats PRO earphone battey CP1254 (A3) 3.7V 60mAh Twin Battery Pack.
£18.99
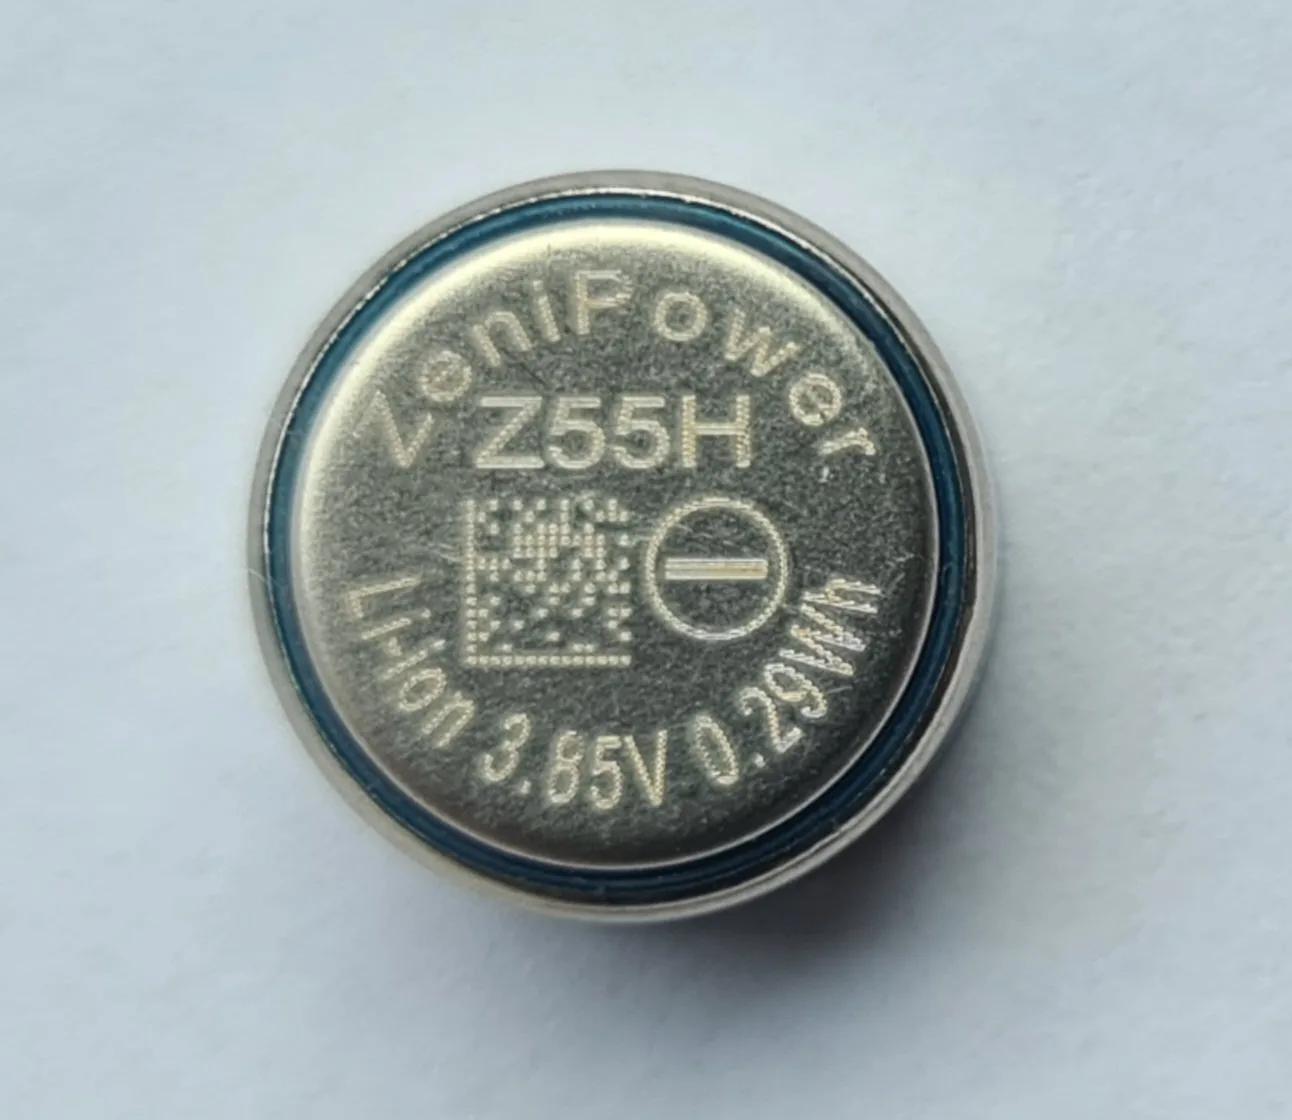
ZeniPower Z55H 3.85v 70mAh for SONY WF-100XM4 Twin Battery Pack.
£13.99

CP1454 (A3) 3.7V 90mAh Battery for Samsung GALAXY Buds PLUS+ Earphones Twin Battery Pack.
£10.99

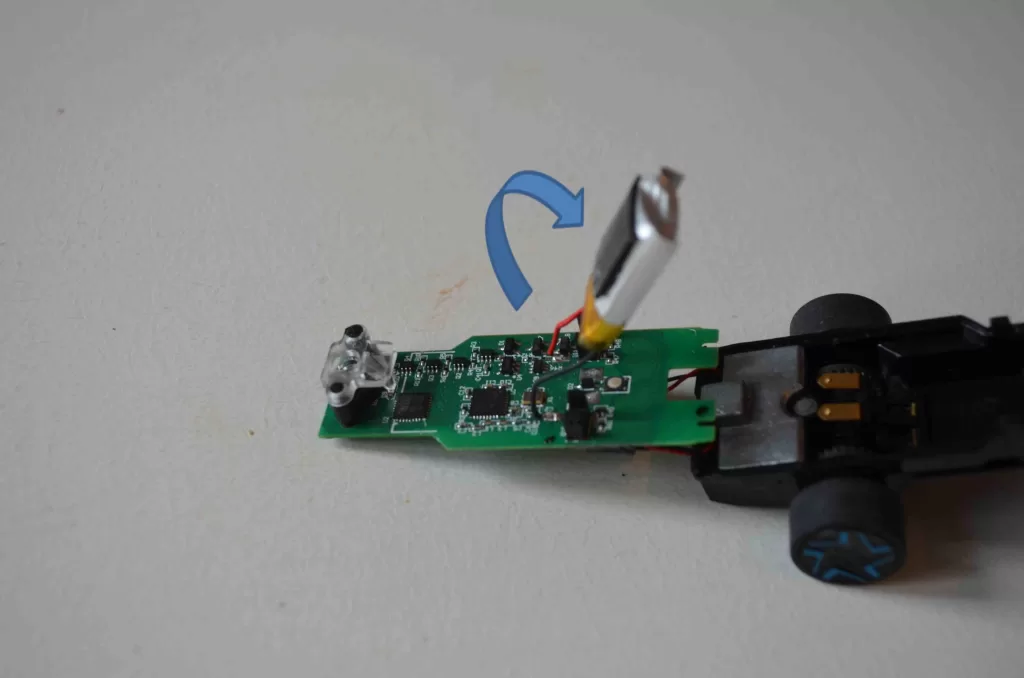
TWS wireless headphone batteries CP1254 (A3) 3.7V 60mAh with Solder Tabs. Twin Battery Pack.
£16.99
Stock Out
Beats Powerbeats PRO earphone battey CP1254 (A3) 3.7V 60mAh Twin Battery Pack.
£18.99
ZeniPower Z55H 3.85v 70mAh for SONY WF-100XM4 Twin Battery Pack.
£13.99
CP1454 (A3) 3.7V 90mAh Battery for Samsung GALAXY Buds PLUS+ Earphones Twin Battery Pack.
£10.99